The Mac includes built-in scanning support so you can control most scanners in the same way no matter the model or brand. Scanners can also be shared over the network so everyone can use them.
The buttons on the scanner itself may not give you the controls you need. Use the standard Mac scanning method below unless important scanner functions are missing and you're forced back to the manufacturer's old scan software.
![]()
Using the Mac scanning software
- Place originals in the scanner's document feeder or on the glass. If you're placing several items on the glass leave a gap between them.
- Click the scanner or multifunction printer icon in the dock. No icon? See Adding printers & scanners.
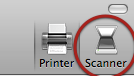
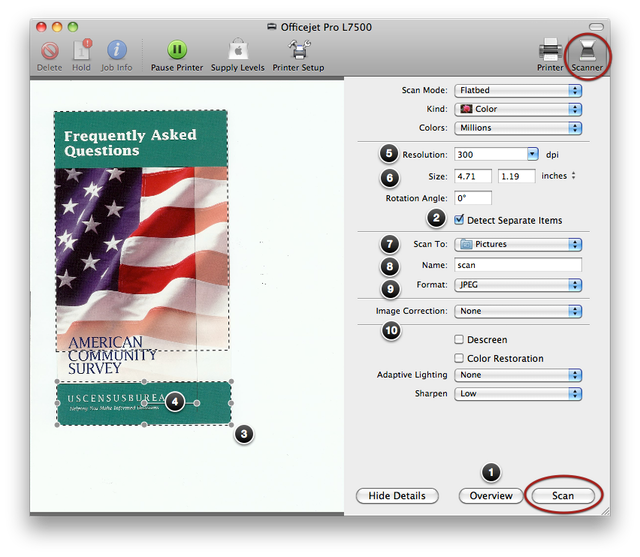
- Click Scanner in the upper right corner on a multifunction device.
- Click Show Details if you don't see all the scanning options you need.
- Note or change the Scan To folder. You can scan to your desktop or directly to iPhoto.
- Click Scan.
- Repeat these steps for other items you want to scan. Close the window when you're finished.
- Look for your files in the folder where your scans were saved.
Scanner options
- Overview: shows a preview scan.
- Detect Separate Items: automatically selects items for saving to different files.
- Selection rectangles: drag the corners to crop each item
- Straighten: select a scan region and look for a horizontal line in the middle. Drag one end up or down to straighten crooked items.
- Resolution: use 300 dpi for a standard scan. Use 600 dpi or higher for greater detail in photos or if you plan to print enlargements or crop photos.
- Size: choose the largest size you think you will need.
- Scan to: the Pictures folder inside your home folder, the desktop, or an application such as iPhoto. You can specify a folder on a server if you want others to access the scans.
- Name: type a name for your scanned file.
- Format: use JPG for photos or TIFF for high-res. PDF works well for text and multipage documents.
- Image Correction: change to manual if you need to brighten or adjust color. Making these adjustments as you're scanning captures more detail than relying completely on iPhoto or Photoshop.
Can’t find an icon for your scanner in the dock? You may need to configure it for use. You can also share scanners with other users on the network. See Adding printers & scanners.