Follow these steps to transfer user files and other data from a Mac or Windows PC over a network. Both computers should be connected to a power outlet. Not sure if this is the right method for you? See Using Migration Assistant.
- Power up the destination (new) Mac.
- If the computer has never been used, click Transfer now and skip to step 5.
- Click the Launchpad and open Migration Assistant. Or click the Finder (desktop), then the Go menu at the top of the screen, choose Utilities and open Migration Assistant.
- Click Continue and type an administrator user name and password to quit all other apps and log out the current user.
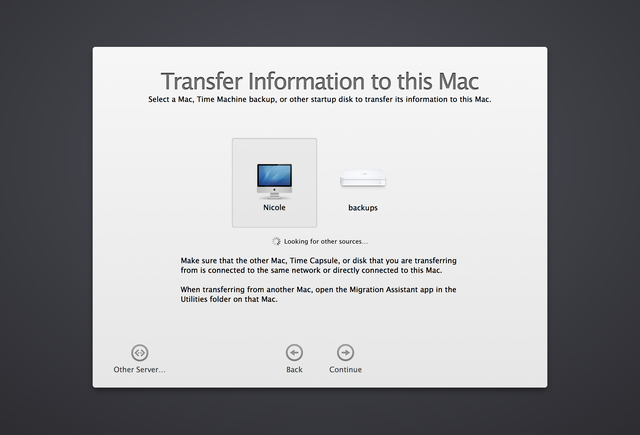
- Select From a Mac, Time Machine backup or other disk and click continue.
- Connect both computers with Ethernet cables if possible. For best results, connect them directly to each other with a single cable. Or connect them to a switch/router or office network. Ethernet is often 6 times faster than wi-fi.
- Using wi-fi? Place both computers as close as possible to the wi-fi router (hot spot) and connect them to the same wi-fi network.
- If the source (old) computer is a Mac, click the Apple Menu and choose Software Update. Install all updates.
- If the source computer is a Windows PC, download and install Migration Assistant from Apple’s web site.
- On the source computer, open Migration Assistant. Select the option To a Mac and click Continue.
- On the destination Mac, select the source computer and click Continue. Source computer not shown? Click Quit on both computers, then restart the migration.
- Confirm the same security code appears on both computers. Click Continue on the source computer, then Continue on the destination Mac.
- Select the data to migrate and complete the transfer.